Feb 132013
 

Another day, another post! We’ve been hard at work doing school, random extra-curricular activities (there’s been an event!), job seeking (yes even us), and much much more. But, without further ado, I present my latest addition to the Kegerator: Custom Tap Handles!

The use case for these is for when we don’t have an official tap handle, and the little black thing is not enough. Have some pictures!

Dragons Milk

Kentucky Bourbon Barrel Ale

Shock Top

IMG_20130211_213927

Tap Handle Comparison
IMG_20130212_002100


Dec 302012
 

Today we here at URR have embarked on a quest into an as-yet-unexplored direction for us. Let me preface this by saying that it is the latest in a line of projects the like of  which we derived our name (UnRulyRecursion) and slogan (Recursion of projects into projects).

First we drank and enjoyed beer. Life was good. Then, we were introduced to the exciting atmosphere of trying new beers, most of which were on draught, at TacoMac with some of our friends every Thursday night for Pint Night. That has, and continues to be, awesome. At the beginning of this semester, we thought about taking the logical next step, but it wasn’t until we actually had kegs lying around from our birthday party that we needed to keep cold, that we decided to build a kegerator. That is/was an awesome project, and you can see our original post here, and our updates and progress here.

But we couldn’t stop there. As we were enjoying our hard work, we noticed that by far cider was the most popular drink; the torpedo keg ran dry in less than a month! Of course we had some help from our friends, but some quick calculations easily show that we wouldn’t be able to sustain that sort of drinking volume financially (we do take donations of course, and may institute some sort of voting on what goes on tap later…in another project). So we started looking for alternatives.

That brings us to our latest project, actually trying our hand at making hard cider. It turns out that brewing your own can be much more cost effective, and also give you the flexibility to tweak the recipe to your liking. Our grandfather is our guiding pro, as he has been making fruit wines for…well…a long time. We will be working with him to craft a cider that, if it turns out anything like what we think it will, we will have on tap in the kegerator, and quite possibly available in bottles.

The recipe we just mixed up and set up for fermentation is the one here, and there are a lot of different recipes (or twists, if just adding some fruit flavoring) around, and we are excited about trying some out! (Here’s a link to the recipe as a pdf – ManCaveAmber-recipe)

EDIT: the recipe calls for 2 cans of apple juice, bu we actually used 3 cans.

We can’t leave you guys with no pictures, so here are two!

-T

IMG_20121230_150018

IMG_20121230_152114

Dec 272012
 

As an update from our previous post, kegerator in a day, we have added a temperature controller to keep the beer from freezing.  All we need the temperature controller to do is keep the kegs at a nice, even serving temperature.  We want it to be cheap, sense the kegerator’s internal temperature reliably, and switch the power going to the chest freezer.

Another kegerator builder over at onemansbeer made a nifty temperature controller using and STC-1000 aquarium thermostat.  The price was good and the thermostat comes with a thermocouple, so with all the hard bits accounted for, we ordered the thermostat.

Thermostat wiring

Taylor, Wiring up the Kegerator Thermostat

The diagram on the side was relatively straight forward,  so we jumped in and started putting it together.

Thermostat Test Setup Cooling the Kegerator

Test Rig, Beginning to Cool the Kegerator

Just tossing the thermocouple into the kegerator seemed like a crude way to measure the temperature, possibly prone to short duty cycles that could damage the chest freezer’s compressor.  The STC-1000 is designed for use with an aquatic environment, so we were sure it would be sealed such that dipping it in water would be safe.

1 Liter Temperature Buffer

Buffering the Thermocouple from the Freezer

Final Thermostat Assembly

Final Assembly of the Thermostat Into the Electrical Housing

Completed Thermostat Installation

Assembled and Installed Thermostat, Properly Maintaining the Kegs

End Result: no more frozen beer!

Nov 292012
 

Taylor and I had ideas about building a kegerator to have beer on tap for our 23rd/25th birthday party this year.  The party blew past us, and while we got two kegs, the kegerator did not make it.  The following days after the party, we quickly found we needed to keep the remainder of the beer kegs cold, and ice is not cheap.  First order of business, put the keg where it will stay cold without ice!

Good thing this is the second fridge, in the garage!

So there it sat until Black Friday, when Taylor happened across a chest freezer that happened to fall within our price range.  During the previous week, all the CO2 tap and faucet parts came in mail, in anticipation of actually building a kegerator.

or how I obtained a freezer at the right price on black friday

Chest freezer, on sale!

Building a Collar

When measuring the internal height available in the chest freezer, we found that the tapped keg was about an inch too tall for the freezer.  Fortunately we have the option of building a collar, common practice for chest freezer based kegerators.  This saves us from drilling into the actual freezer, because we can mount the beer faucets in the collar.

unpacked chest freezer in place

Chest freezer after unboxing at kegerator installation location

Original hinge installation, after removing the plastic cover

After doing some measuring and hinge investigation, we decided we needed to make a home depot run for supplies.  While at HD, it occurred to us that we could buy the wood for both the frame and the trim of the collar, and get all the wood cut to size at HD.  That way we would not need to cut anything once we got home.  Taylor did some quick calculations and we tapped out all the cut lengths we would need into my phone.

fits like a glove, made out of wood

Test fitting the white outer trim pieces to the collar frame

We did save ourselves the trouble of cutting the wood, but the odd fractional inch sizes were accidentally swapped between the frame length and the trim lengths.  No worries, the collar still fits left to right, and the trim hangs down over the front, but not the back of the freezer.  You can see the inside of the collar in the above picture, where the collar is updside-down and while we test fit the trim pieces.

don't want the trim to separate from the frame!

Clamping the trim to the collar frame while the liquid nails sets

Because the sizes were mixed up, you can see that the back of the collar is not properly flush with the freezer in the picture below.  We decided to use washers to shim up the hinges, and will apply a shim and a retaining piece to the back later.  The retaining piece will make the collar feel more stable because it will not slide forward like it can now.

yet to be shimmed

Lid hinge position, with washers to space it out from the collar frame appropriately

The lid actually would not close properly because of the incorrect dimension.  Quick and easy fix: we used a 45 degree chamfer routing bit to take enough off the back 2×4 to make lid seat properly.

The Results

took long enough

Faucets installed in the collar, and CO2 + Beer in the kegerator

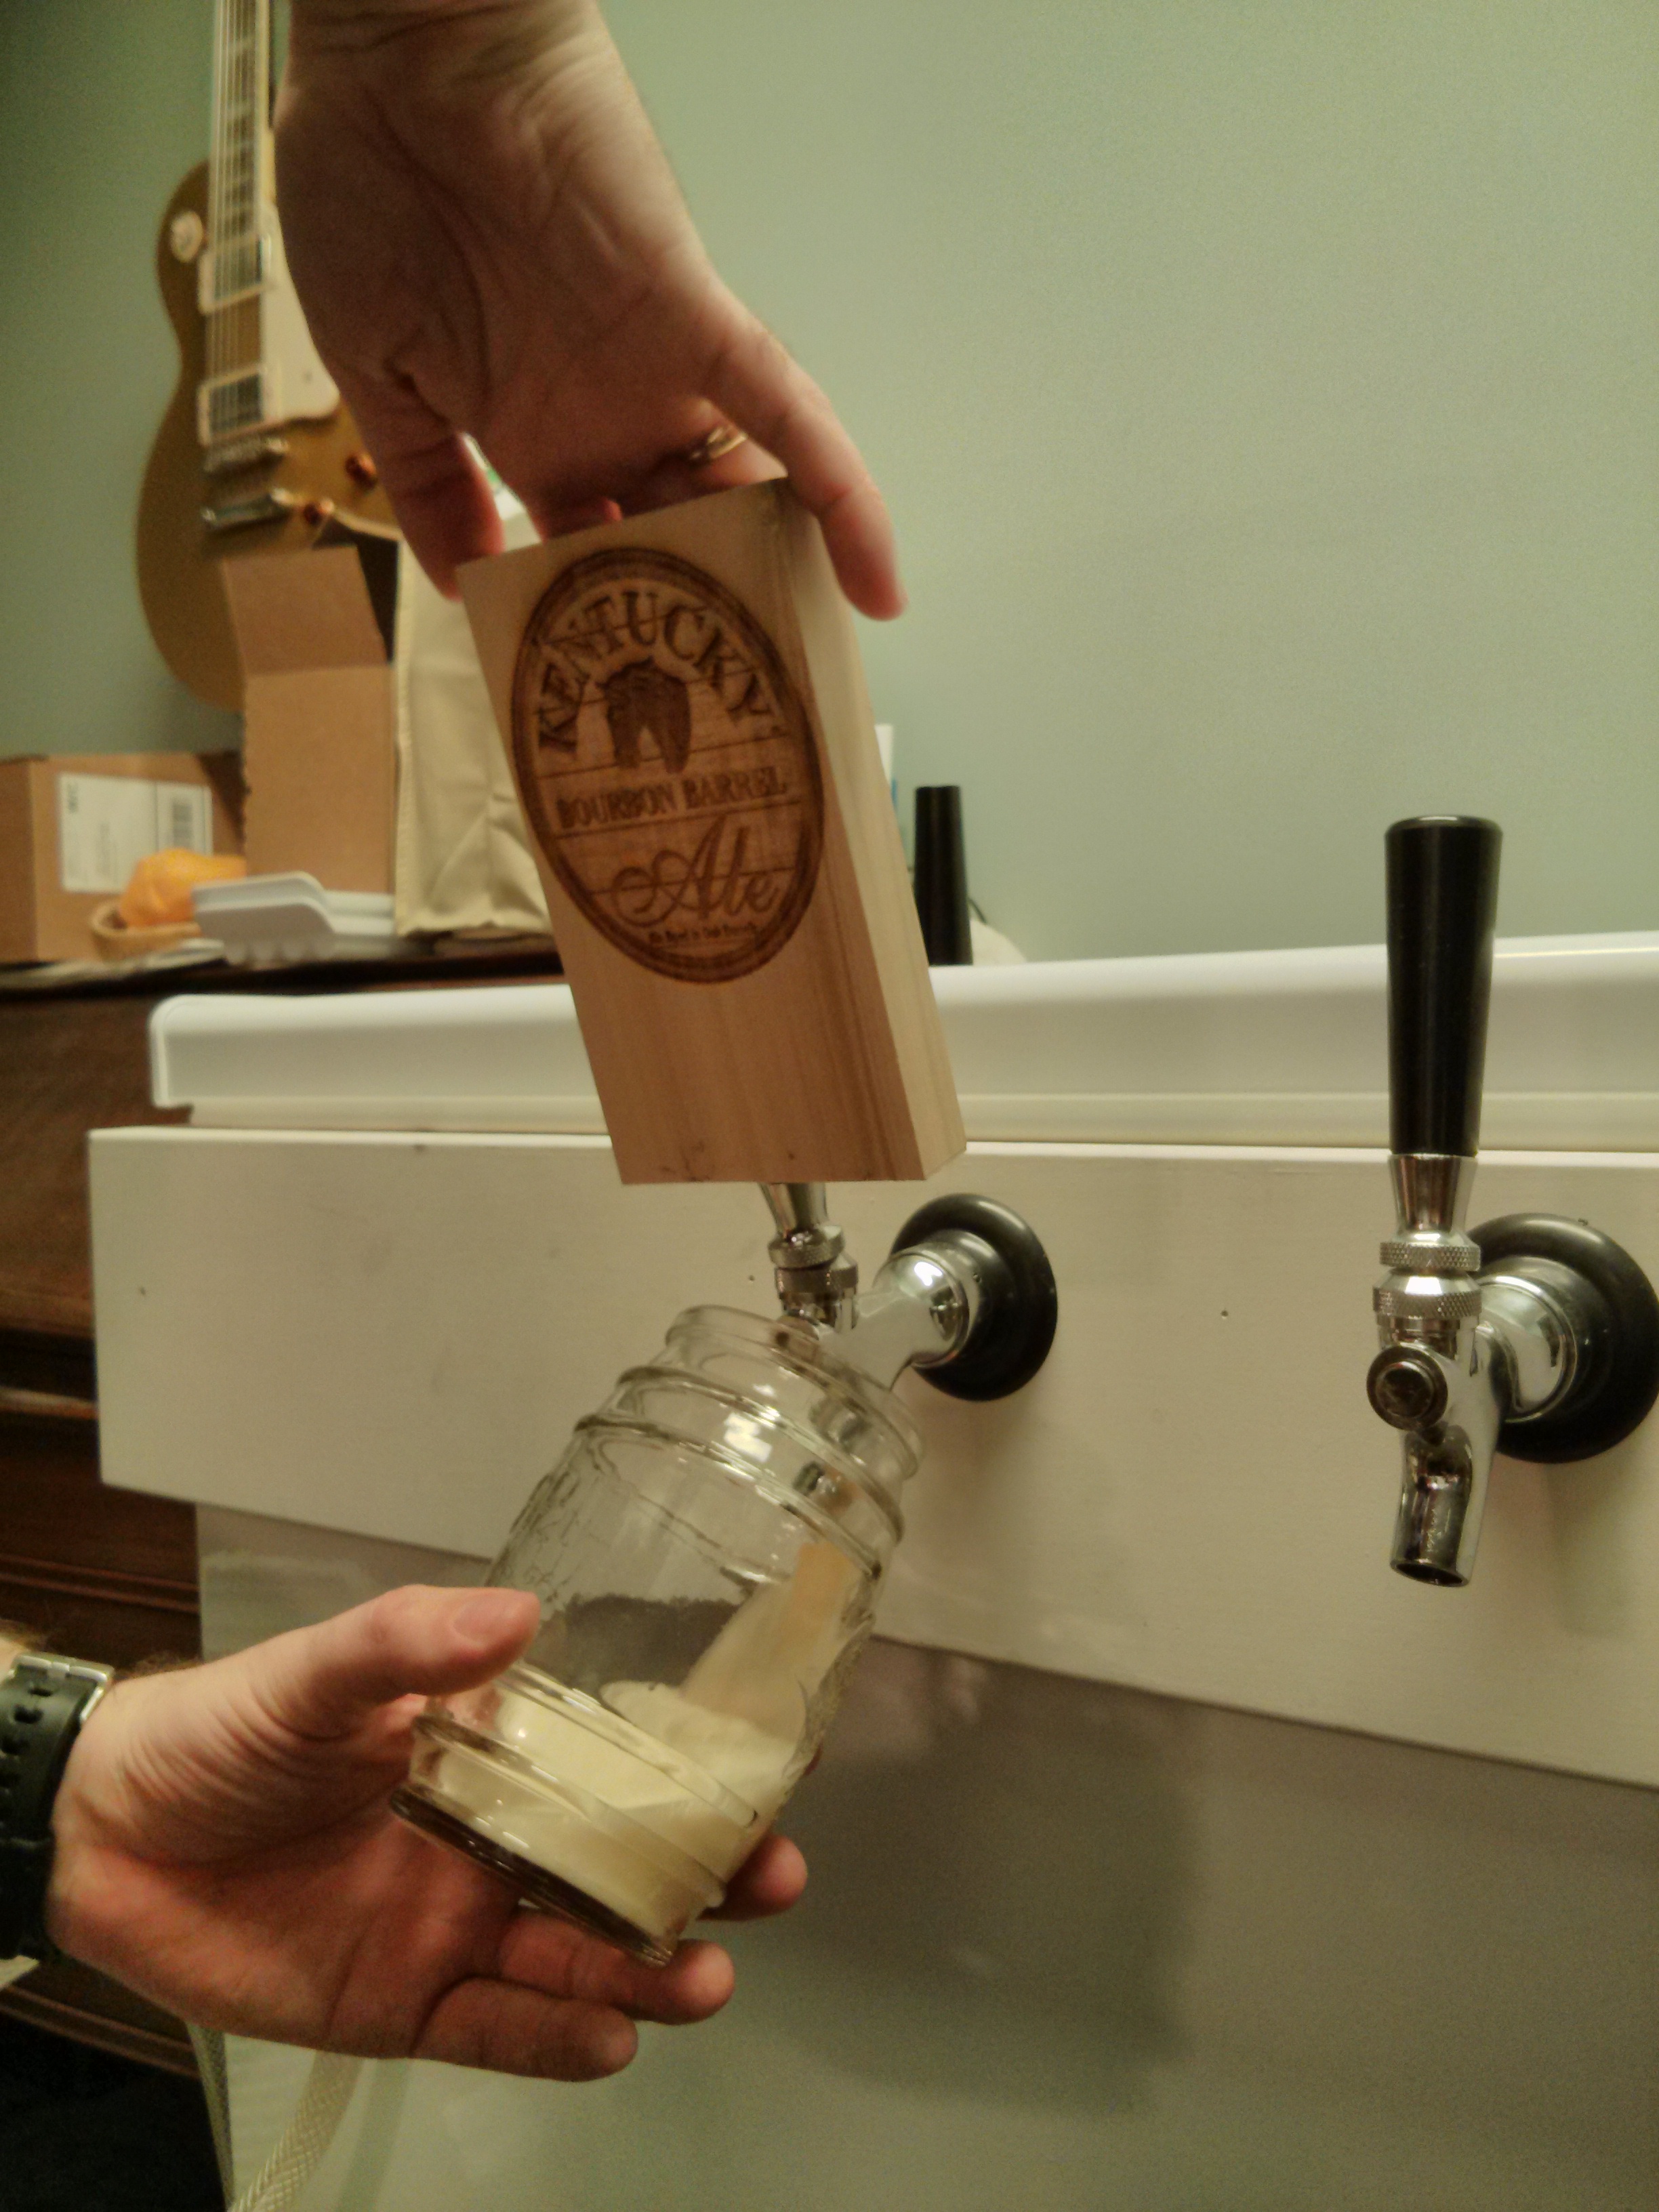
With the collar finally in place and the faucets installed in the collar, its time to pull beer!

BEER!

First glass of beer, pulled from the new kegerator

a little foamy yet, but soon to be perfect

First pint drawn from the kegerator, after the pull

ready to pull some beer

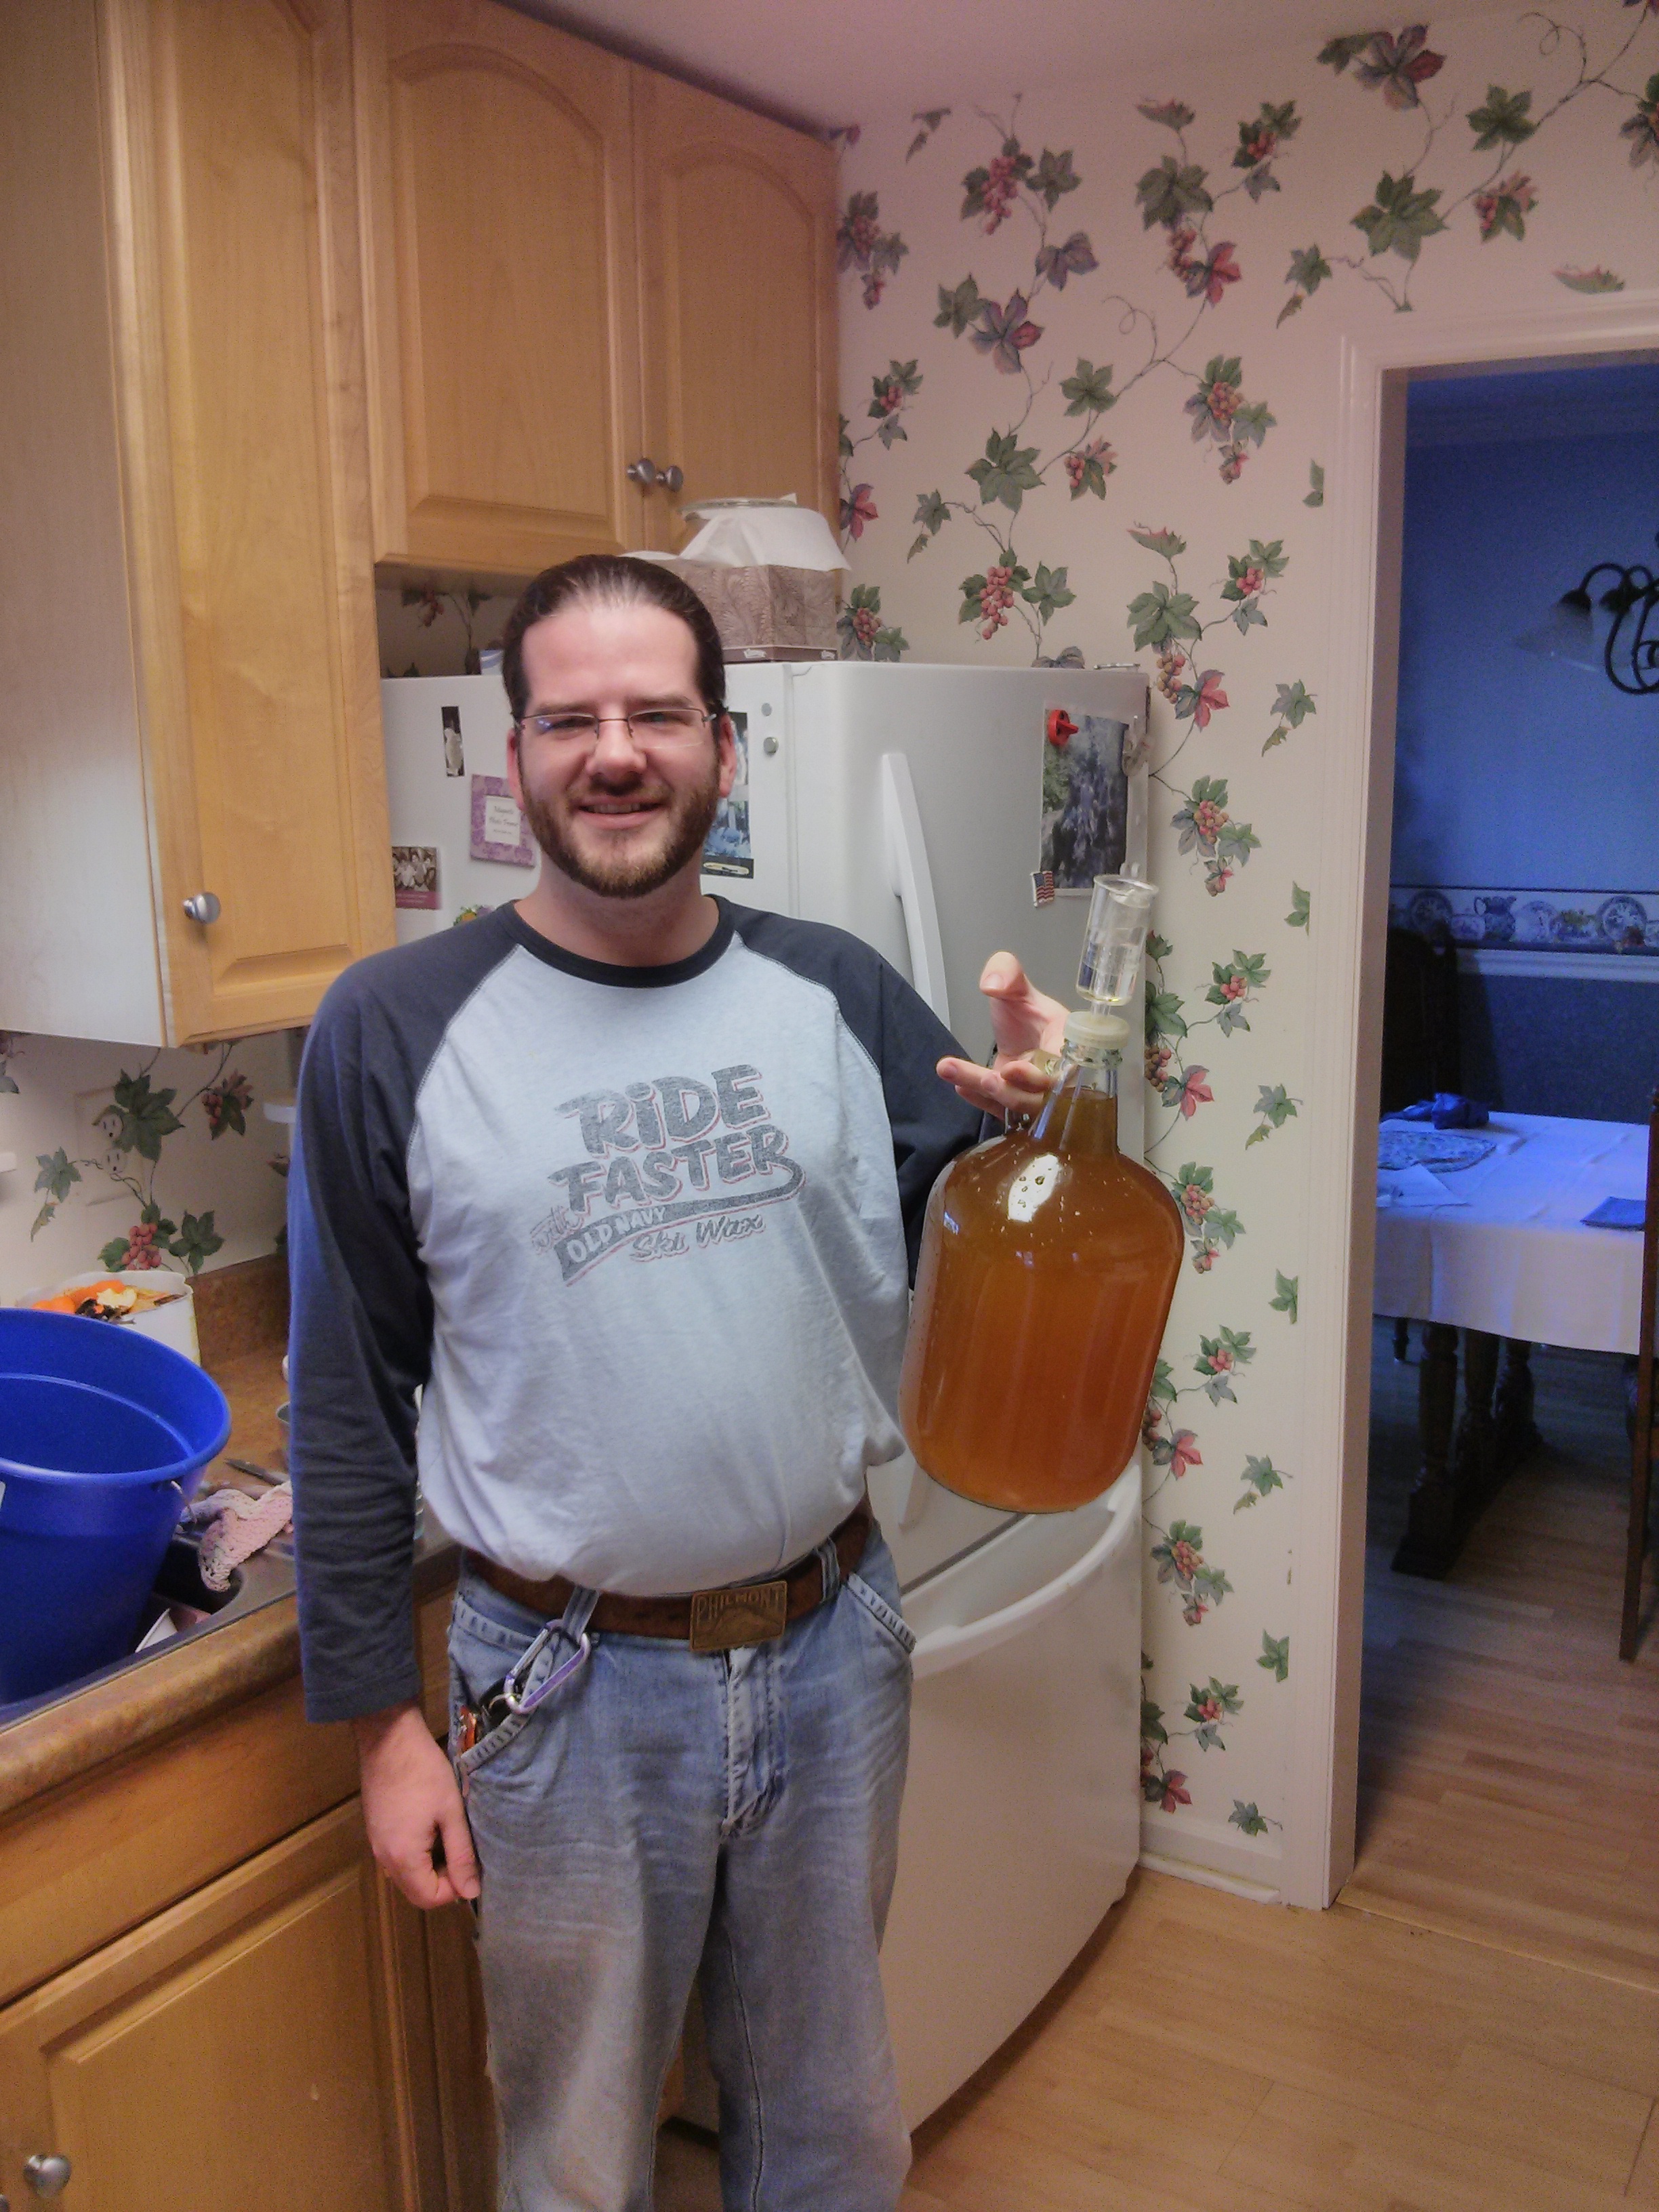
Taylor, a proud craftsman, posing with the fruit of our day’s labor

Future Improvements

  • Add a shimmed retention piece to the back: this will make the collar feel a bit more stable because it will not be able to slide forward.  Fortunately, the current feeling is already pretty stable.
  • Hinge Bottom Plate: by adding a plate that bolts into the original hinge holes, we can ensure that the hinges are properly supported while the lid is being closed.  Currently we just hold them while carefully closing the lid.
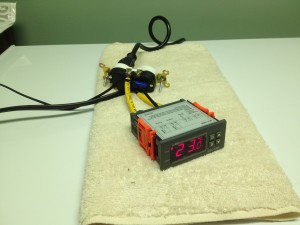
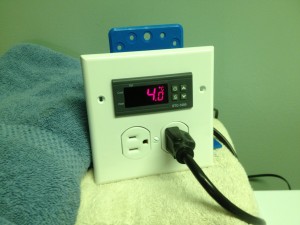
  • Temperature Control:  Right now, we just have it set to the warmest setting.  Unfortunately, that freezes the beer.  While the thermostat is still in the mail, we will be turning the freezer on a night, so the beer does not get too warm, and then leaving it off during the day so it will not be frozen when we want to pull beer.