Warning: "continue" targeting switch is equivalent to "break". Did you mean to use "continue 2"? in /home/choste/public_html/press/wp-content/themes/suffusion/functions/media.php on line 669
Warning: "continue" targeting switch is equivalent to "break". Did you mean to use "continue 2"? in /home/choste/public_html/press/wp-content/themes/suffusion/functions/media.php on line 674
Warning: "continue" targeting switch is equivalent to "break". Did you mean to use "continue 2"? in /home/choste/public_html/press/wp-content/themes/suffusion/functions/media.php on line 687
Warning: "continue" targeting switch is equivalent to "break". Did you mean to use "continue 2"? in /home/choste/public_html/press/wp-content/themes/suffusion/functions/media.php on line 692
Warning: "continue" targeting switch is equivalent to "break". Did you mean to use "continue 2"? in /home/choste/public_html/press/wp-content/themes/suffusion/functions/media.php on line 697 Sterling » UnRulyRecursion
Buadline is an interesting DSP tool for signal inspection and analysis. Unfortunately, the OSX image is a little old (looks like the current release; 1.08; is from 2010), but works just fine. Well, sort of. It turns out, the baudline application is not linked to X11 libs where I have them installed. I use macports, and I have XQuartz since Apple decided to stop officially support the X window server. Here is what happened when I installed baudline and attempted to run it:
$ /Applications/baudline.app/Contents/Resources/baudline
dyld: Library not loaded: /usr/X11/lib/libXp.6.dylib
  Referenced from: /Applications/baudline.app/Contents/Resources/baudline
  Reason: image not found
Trace/BPT trap: 5
Sterlings-MacBook-Air:project2 sterling$ otool -L /Applications/baudline.app/Contents/Resources/baudline
/Applications/baudline.app/Contents/Resources/baudline:
    /usr/X11/lib/libXp.6.dylib (compatibility version 9.0.0, current version 9.0.0)
    /usr/X11/lib/libXt.6.dylib (compatibility version 7.0.0, current version 7.0.0)
    /usr/X11/lib/libX11.6.dylib (compatibility version 9.0.0, current version 9.0.0)
    /usr/X11/lib/libXext.6.dylib (compatibility version 11.0.0, current version 11.0.0)
    /usr/lib/libSystem.B.dylib (compatibility version 1.0.0, current version 111.1.4)
    /System/Library/Frameworks/AudioUnit.framework/Versions/A/AudioUnit (compatibility version 1.0.0, current version 1.0.0)
    /System/Library/Frameworks/CoreAudio.framework/Versions/A/CoreAudio (compatibility version 1.0.0, current version 1.0.0)
    /System/Library/Frameworks/CoreServices.framework/Versions/A/CoreServices (compatibility version 1.0.0, current version 32.0.0)
    /usr/lib/libgcc_s.1.dylib (compatibility version 1.0.0, current version 1.0.0)
    /System/Library/Frameworks/CoreFoundation.framework/Versions/A/CoreFoundation (compatibility version 150.0.0, current version 476.18.0)
Not so great, but I found this blog post that shows how you can relink binaries in OSX: How To Relink OSX Binaries
I felt like there should be a nice, automatic script that could just fix this, but I ended up just relinking each dylib in turn, like this:
I’ve been getting more and more interested in GNU Radio after learning about SDR (Software Defined Radio). Since it is easy and cheap to get an SDR receiver ($20), the investment cost is low and the value high for investigating interesting radio signals. I started by using gqrx, which allows one to do the most common listening, AM, FM, USB, CW, and so on. It is a pretty neat app that depends on GNU Radio under the hood to do its magic.
Because gqrx doesn’t do much with packet radio, I decided I would try to either download a packet modem, or write one. There are many available, so writing one only makes sense now if you are trying to do something new or clever aside from pure academic reasons. I found the OOT (Out of Tree) module called gr-bruninga, which is a 1200 baud afsk packet decoder, but when I tried to compile and install it, I could not use it.
Turns out, GNU Radio uses cmake for the build process, which is good because it is super configurable and does a pretty good job of auto-configuring correctly. Additionally, GNU Radio has a good tutorial for how to write an OOT module, but their cmake scripts do not correctly detect the intricacies of how python and GNU Radio is installed by MacPorts.
Good News, this email archive provided the exact answer necessary, and all that needs to be done is pass in the parameters for cmake setup:
mkdir build
cd build
CC=/usr/bin/gcc CXX=/usr/bin/g++ cmake -DPYTHON_EXECUTABLE=/opt/local/bin/python2.7
-DPYTHON_EXECUTABLE=/opt/local/bin/python2.7
-DPYTHON_INCLUDE_DIR=/opt/local/Library/Frameworks/Python.framework/Headers
-DPYTHON_LIBRARY=/opt/local/Library/Frameworks/Python.framework/Python
-DSPHINX_EXECUTABLE=/opt/local/bin/rst2html-2.7.py
-DCMAKE_INSTALL_PREFIX=/opt/local
-DGR_PYTHON_DIR=/opt/local/Library/Frameworks/Python.framework/Versions/2.7/lib/python2.7/site-packages ..
make
At which point a ‘make install’ will put all the files in the correct places for you. Don’t worry if you mess it up, GNU Radio was kind enough to create a boilerplate ‘make uninstall’ target, so you can run that instead of the ‘sudoxargs rm < install_manifest.txt’ hack.
The Georgia Tech Ramblin’ Rocketeers are participating in ESRA‘s IREC competition this year. The payload for the Rocketeer’s competition flight is a collection of video camera recording their free descent, falling such that their path(s) to the ground are helical and the view is generally downward pointing. Effectively this is a data set collection mission, and the data set is destined for computer vision research at Georgia Tech’s RIM facility.
There are several approaches to solving the problem of how to ensure this helical path. A sensible solution would be to rig a simple parachute to spin and suspend each camera from such a parachute, but this is lacking in style. The Cool™ way to do this is to build a gigantic maple seed, and house the video camera is the the seed pod portion.
Representative Outline of a Maple Seed
There are many different varieties of maple seeds, but we want to make really large maple seeds (at least, much larger than mother nature already made). Thus, we choose the largest natural example to draw our inspiration: the Silver Maple Tree.
First Draft
At this point, the normal engineering approach differs from ours, due to lack of domain knowledge. So we take the Scientific approach, Experiment!
As an easy first step, a roughly maple seed shape was cut from a piece of foam board, and a roll of tape affixed to approximate the seed pod. The success of the five-minute, foam board maple seed led to the next iteration; a less bio-shaped half wing with no taper.
Less Natural, Easier to Build
This prototype was created to explore the feasibility of using traditional balsa rib, spar, and stringer methods of building the maple seed in addition to exploring the maple seed’s flight in a larger scale. The obvious addition of the wing tip flap (no it is not an aileron because it is not a control surface, it is quite literally a square of poster board taped to the wing) was necessary because the simple rectangular wing was prone to spin along the length of the seed.
Clearly the large but square maple seed was a success, but we learned that the planform of the seed and the density gradient (some people call this weight distribution) of the seed are very important to the flight path. Most importantly, neither prototype will fit inside the payload bay of our rocket, and we want to deliver about a dozen of these maple seeds to the drop altitude.
Designing for the Rocket Payload
The next step takes what was learned in the first two designs, and applies those lessons and a little more design effort towards constructing a prototype that would fit in the rocket. As an added constraint, we would prefer the maple seed to have a bias, so that we can be reasonably sure that the seed will prefer to develop a left-hand or right hand spin. It doesn’t matter which way the seed spins, as long as we can orient the camera in the seed to look at the ground with some reasonable measure of confidence.
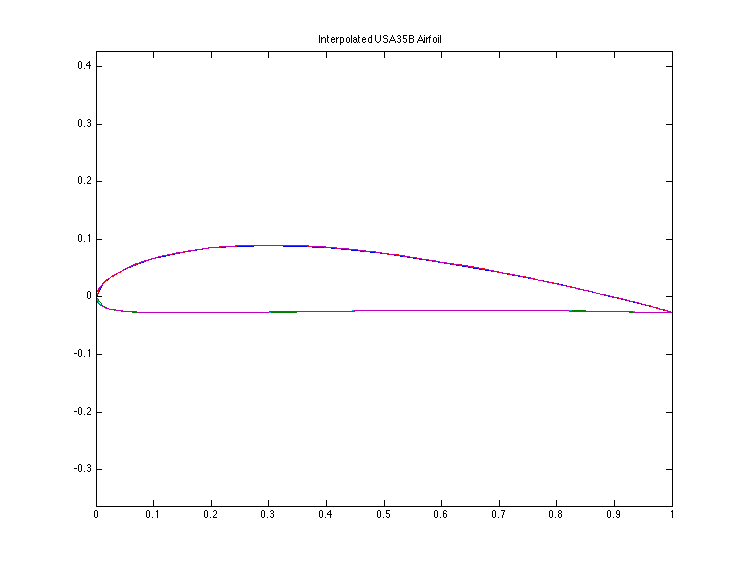
USA35B Airfoil used for Maple Seed Sections
A somewhat arbitrary (hey, I like it), non-symmetric airfoil was chosen for the maple seed in hopes that the pitching moment of the airfoil would induce a bias without disturbing the general flight too much.
Planform for Maple Seed traced from photo of a real Silver Maple Seed
Next a planform for the seed was generated by spline approximation, using points traced from a real maple seed.
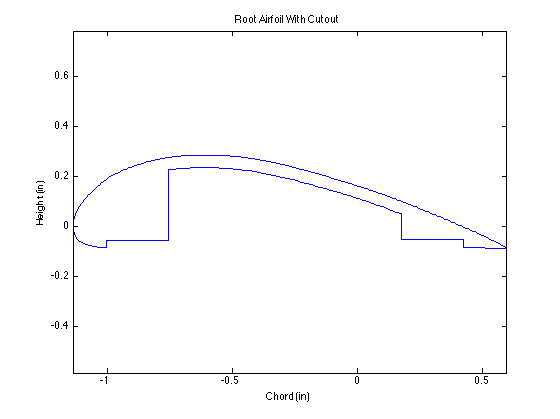
Root Airfoil section with Lightening Cutout
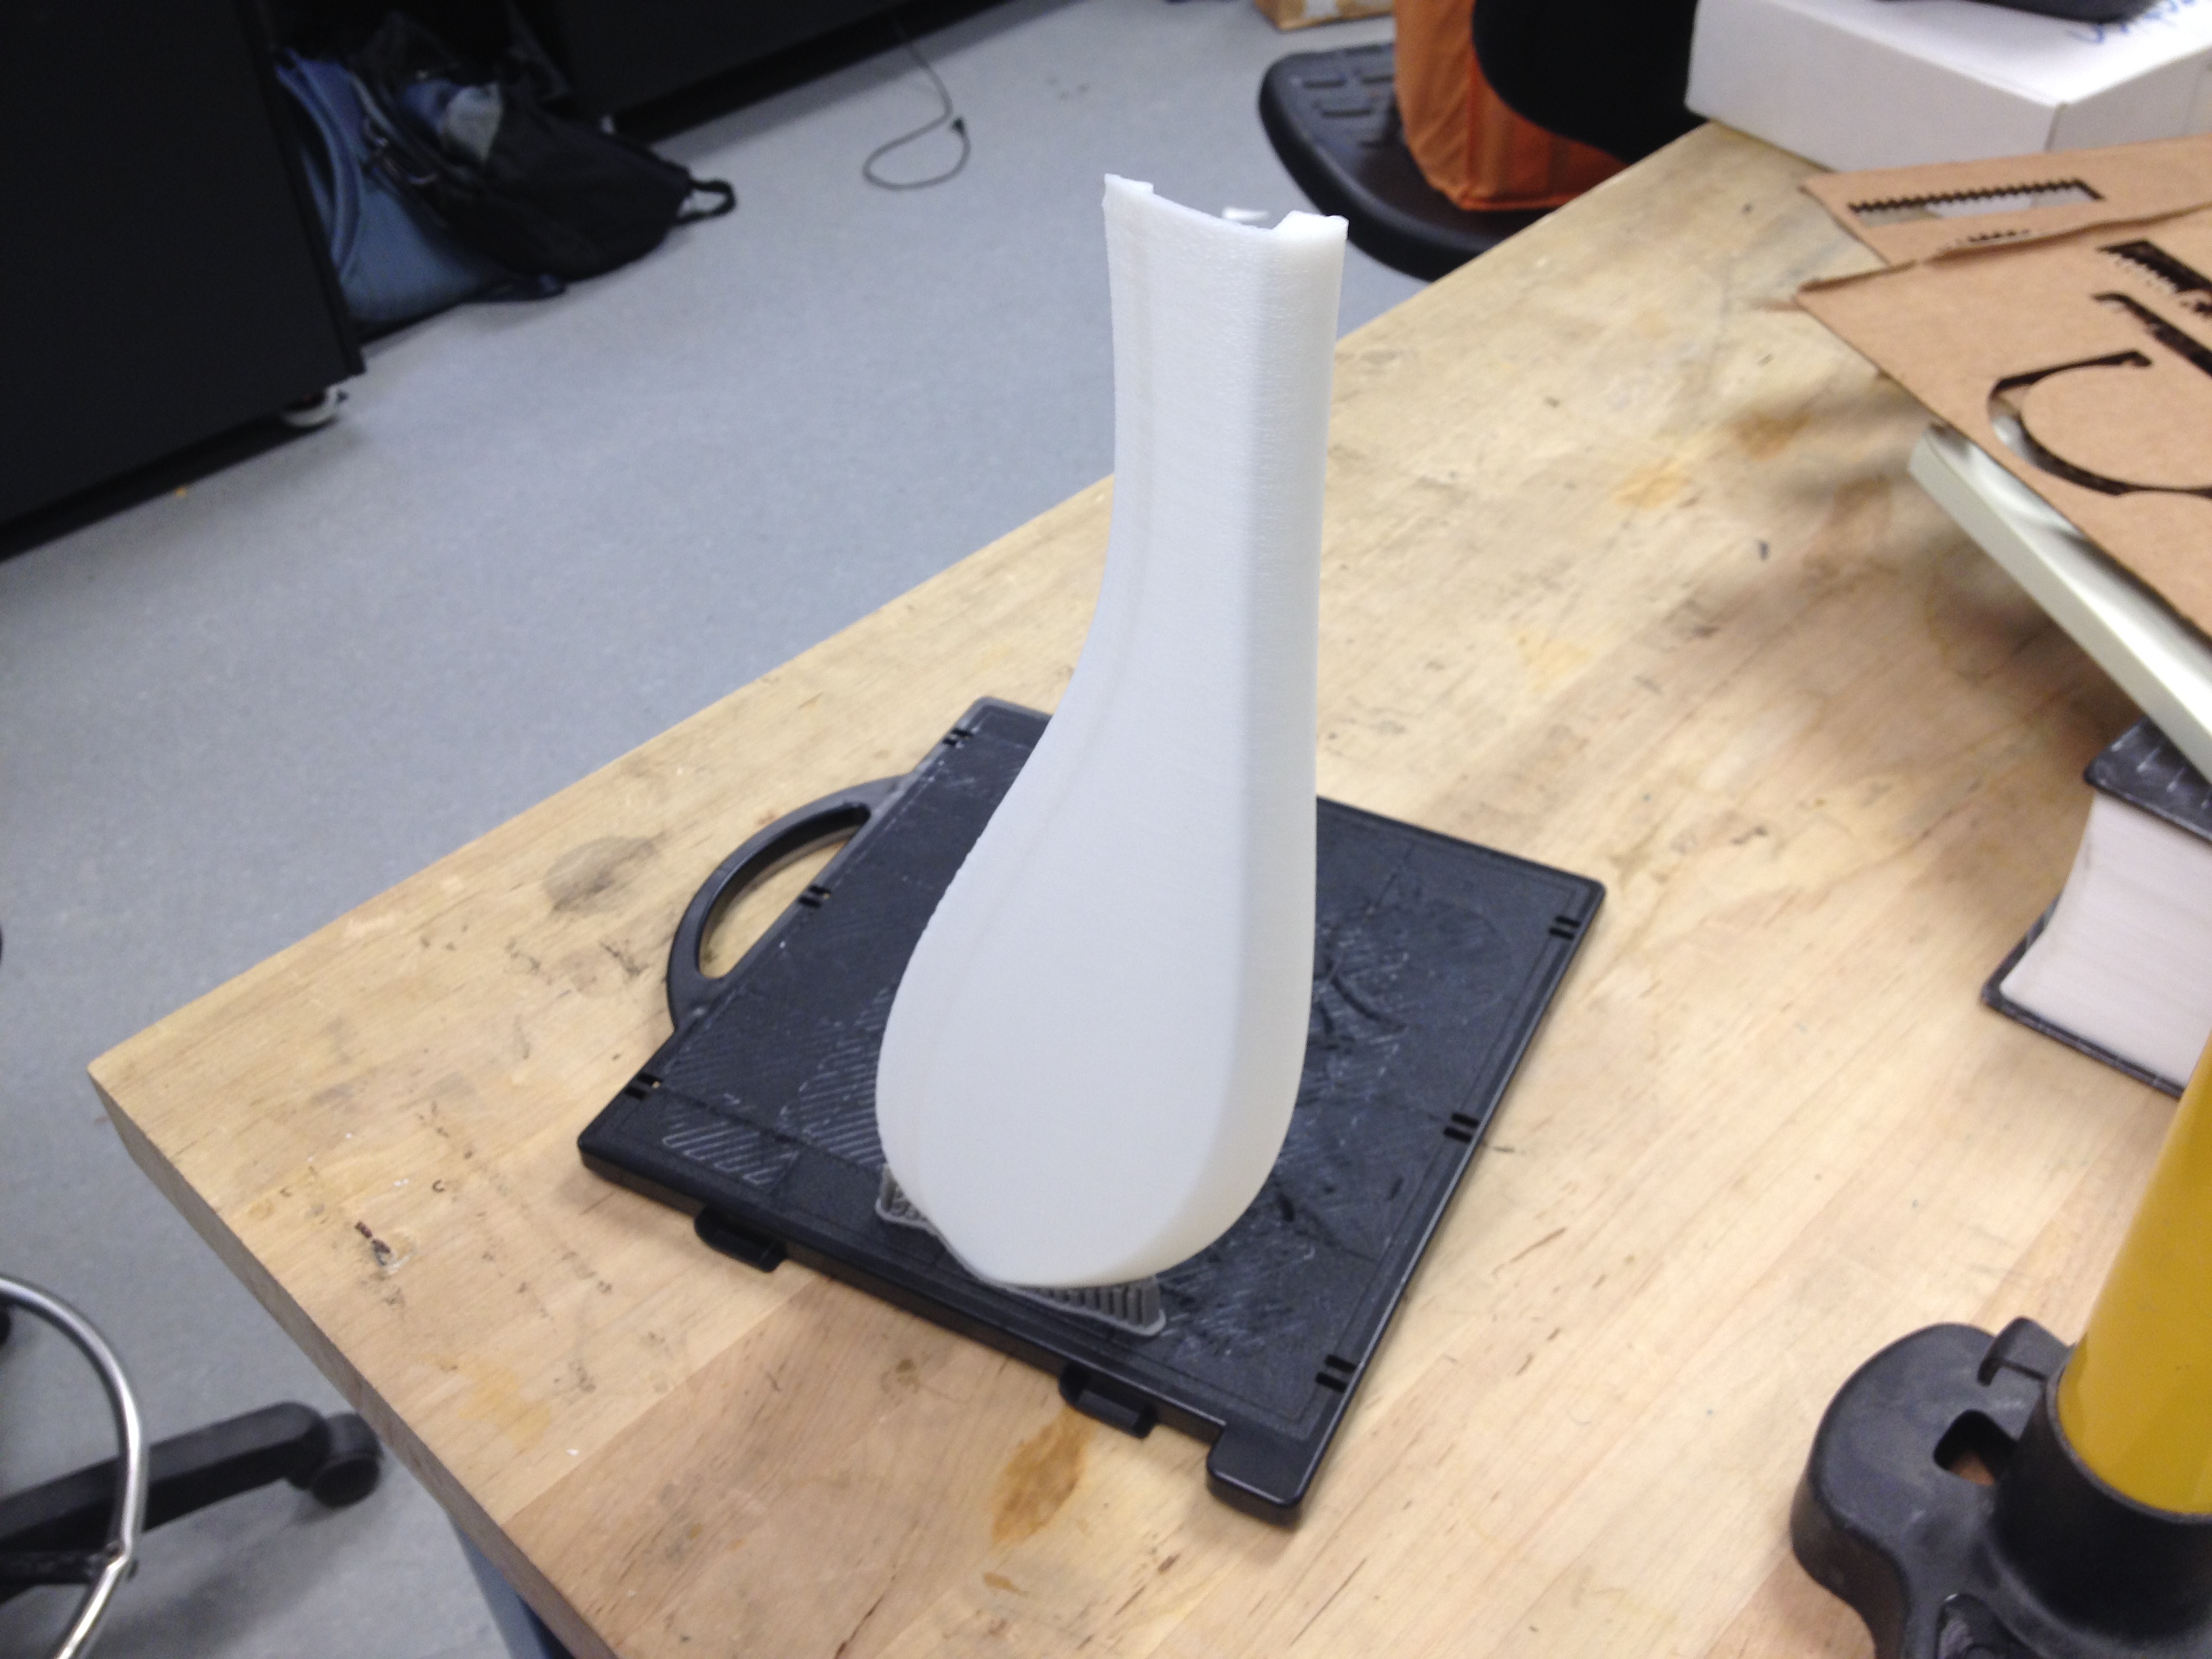
Now we take a second to think about manufacturing. Making light-weight things in this scale is difficult to do without incurring surface deviation penalties. Fortunately we have access to the Invention Studio, and can 3D print a prototype to get a satisfactory surface quality. 3D printing is not the magical answer however, because the resulting ABS plastic parts are quite a bit more dense than is desirable for this application, and we have no control over the density gradient. To solve this we cut out a surface at the front and back of the airfoil bottom to attach a thin cover, and hollow out the remaining airfoil shape to get the minimum thickness reliably produced with the 3D printer.
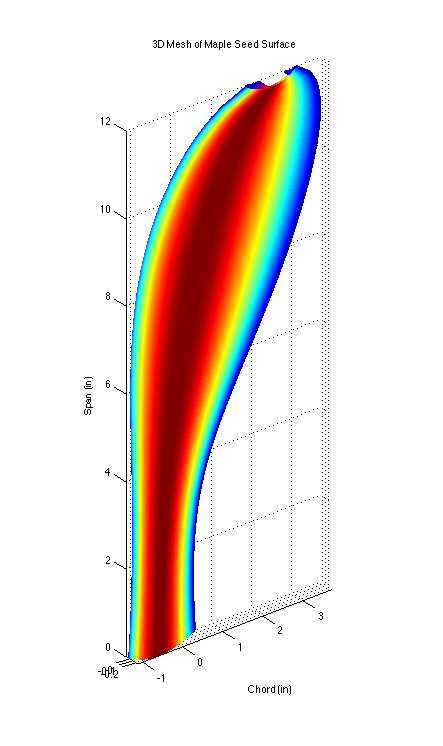
Maple Seed Surface plotted in 3D
Generation of the maple seed’s 3D surface is accomplished by lofting/sweeping the airfoil down the span of the planform, and performing the cutout operation at each slice along the way. All of this performed by custom code I wrote in MATLAB.
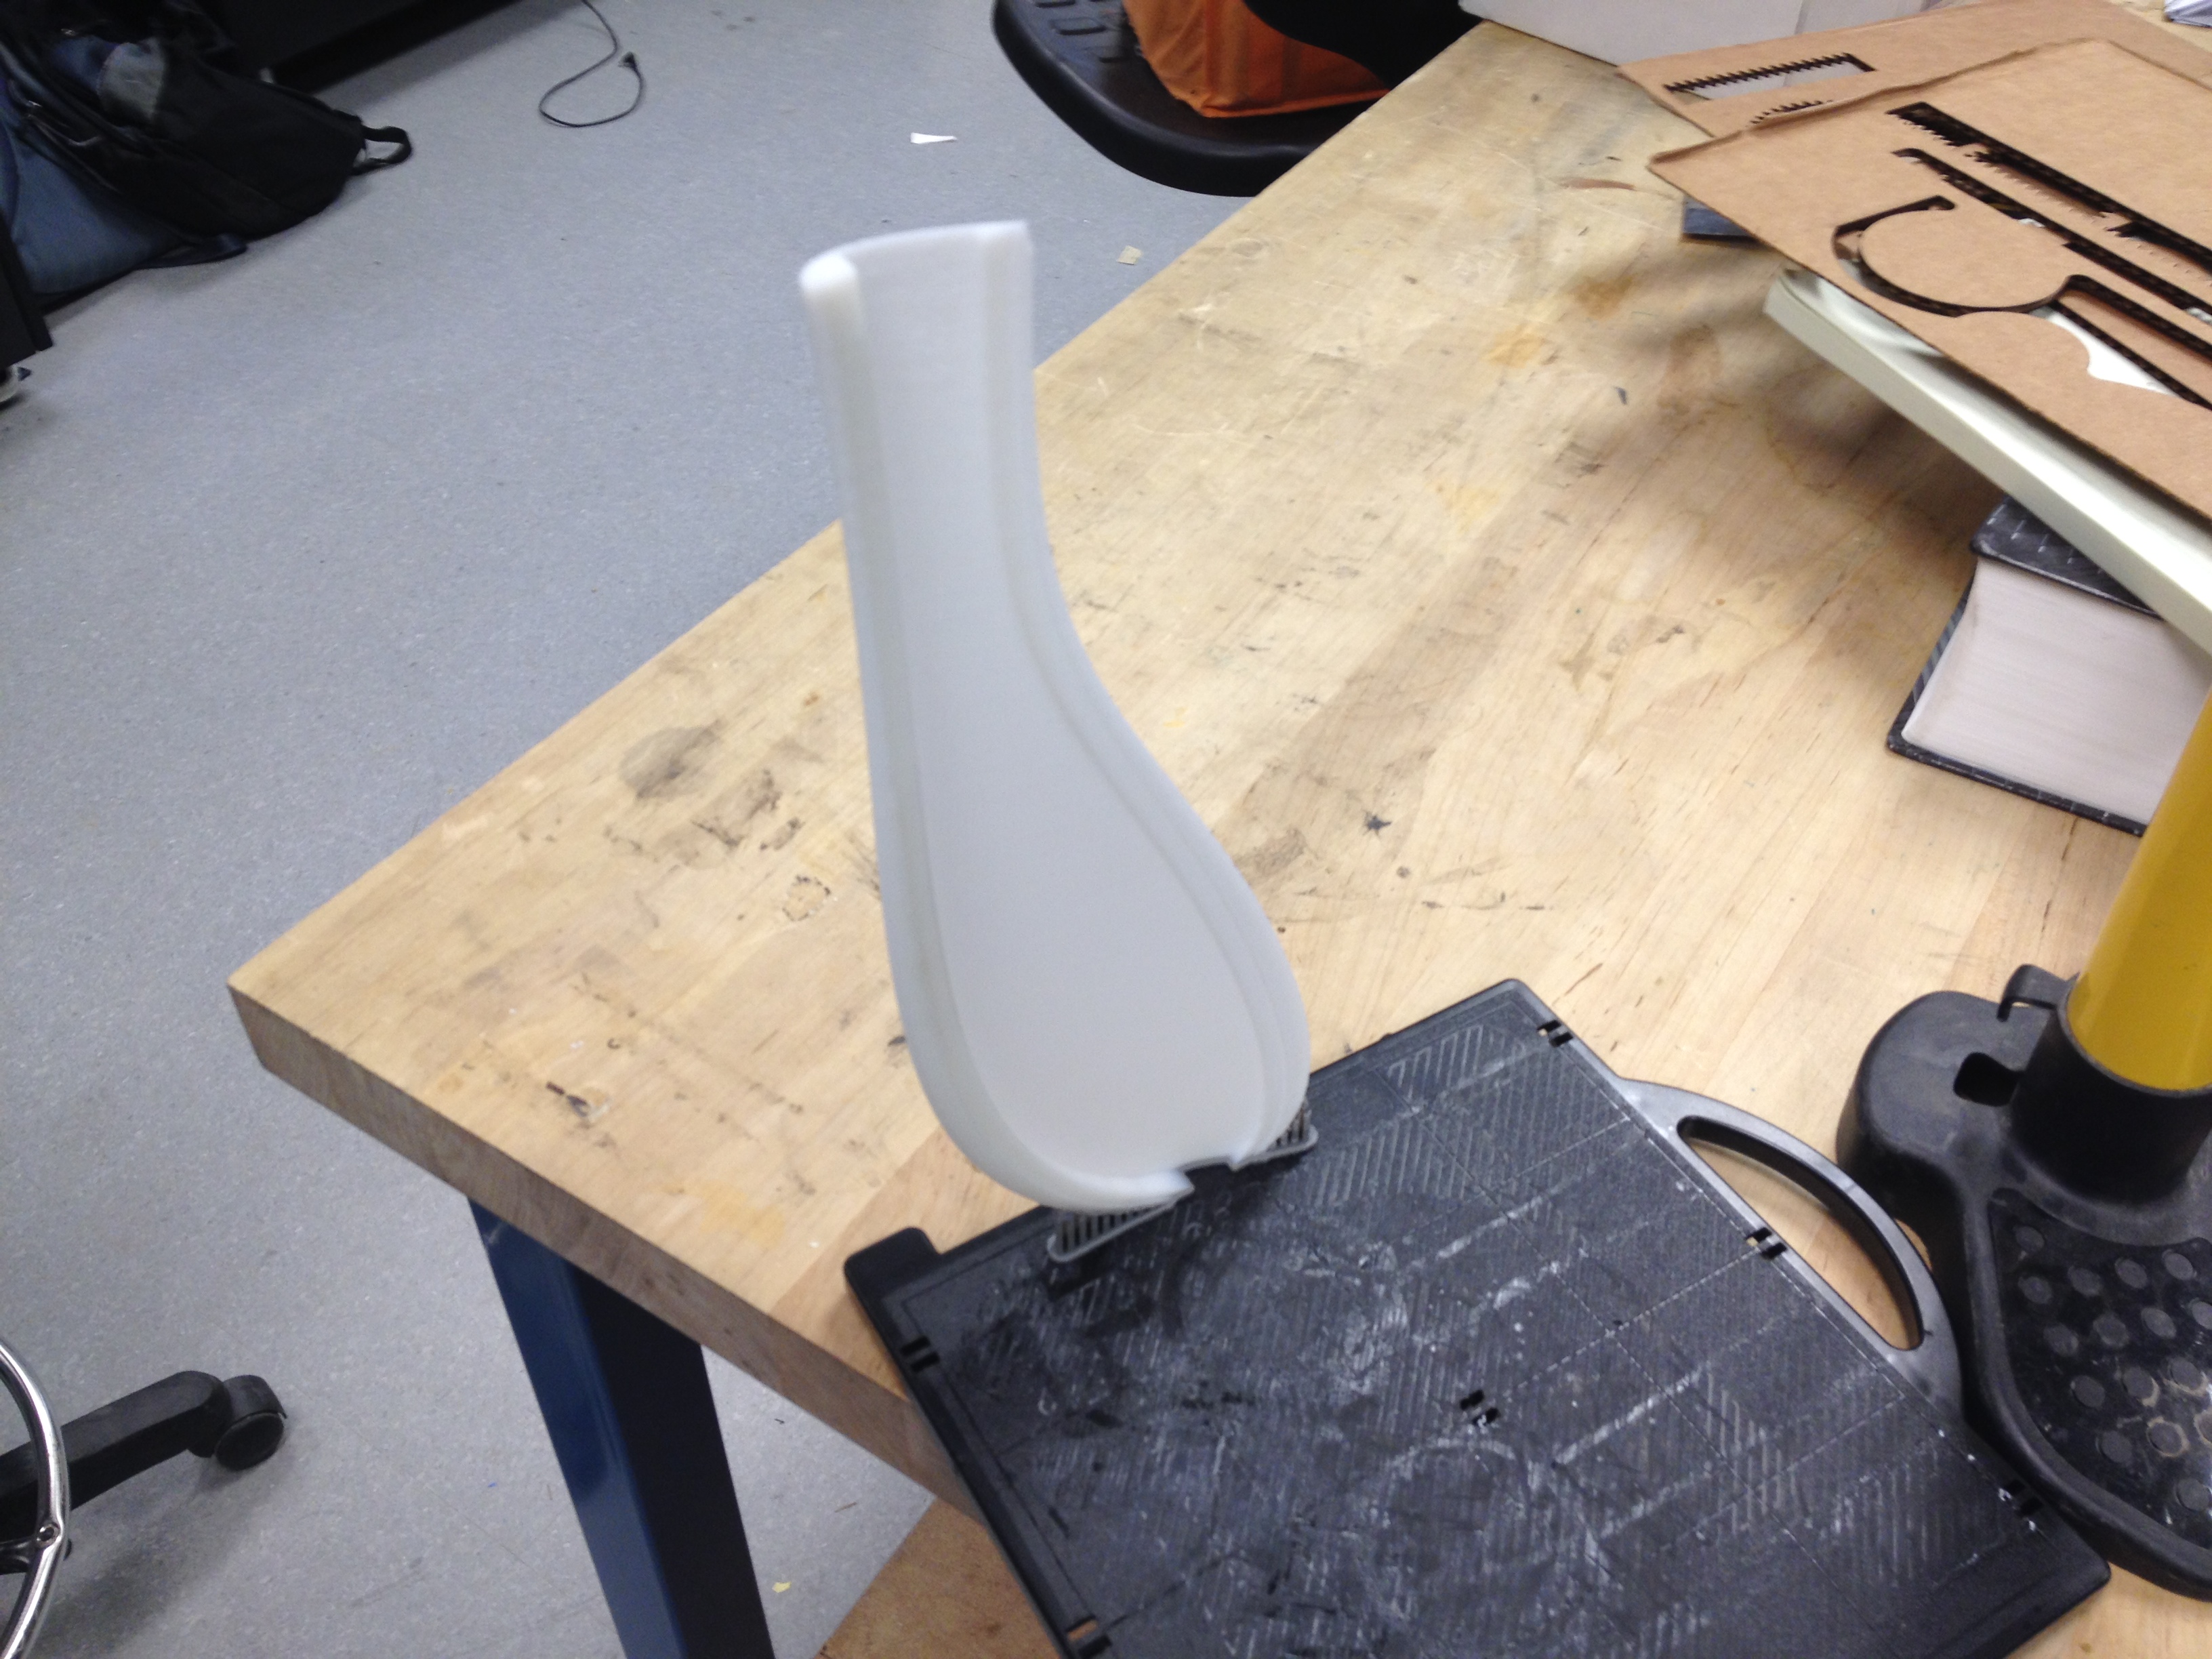
Bottom of Freshly Printed Maple Seed Showing Cutout
Freshly Printed Maple Seed Airfoil Top, Still on the Build Plate
Lastly, the 3D mesh is exported to obj format, repaired and exported to stl by netfabb, and then sent to the 3D printer.
Drop Testing, UP! Style
Initially, some folks from the studio (Casey and Josh) helped me test the prototype on the grass by heaving it as high as we could, but the approximately 30 feet of height was not enough for the maple seed to stabilize into the characteristic spin.
Now for the part you have all been waiting for!
It is a Friday afternoon, I have just put together the printed prototype for testing and Harrison walks in while I am contemplating how to test the maple seed without damaging it. So Harrison and I go outside and pitch it some more to demonstrate to Harrison how it seems to be just a bit to heavy to work properly. Then, just once, on a particularly high toss with a fortunate gust of wind while the maple seed is coming back down, it starts turning. It turned just enough to be obvious, but not quite a full 360 degrees.
To Harrison and myself, the afternoon plans are obvious: drop the maple seed from a higher altitude.
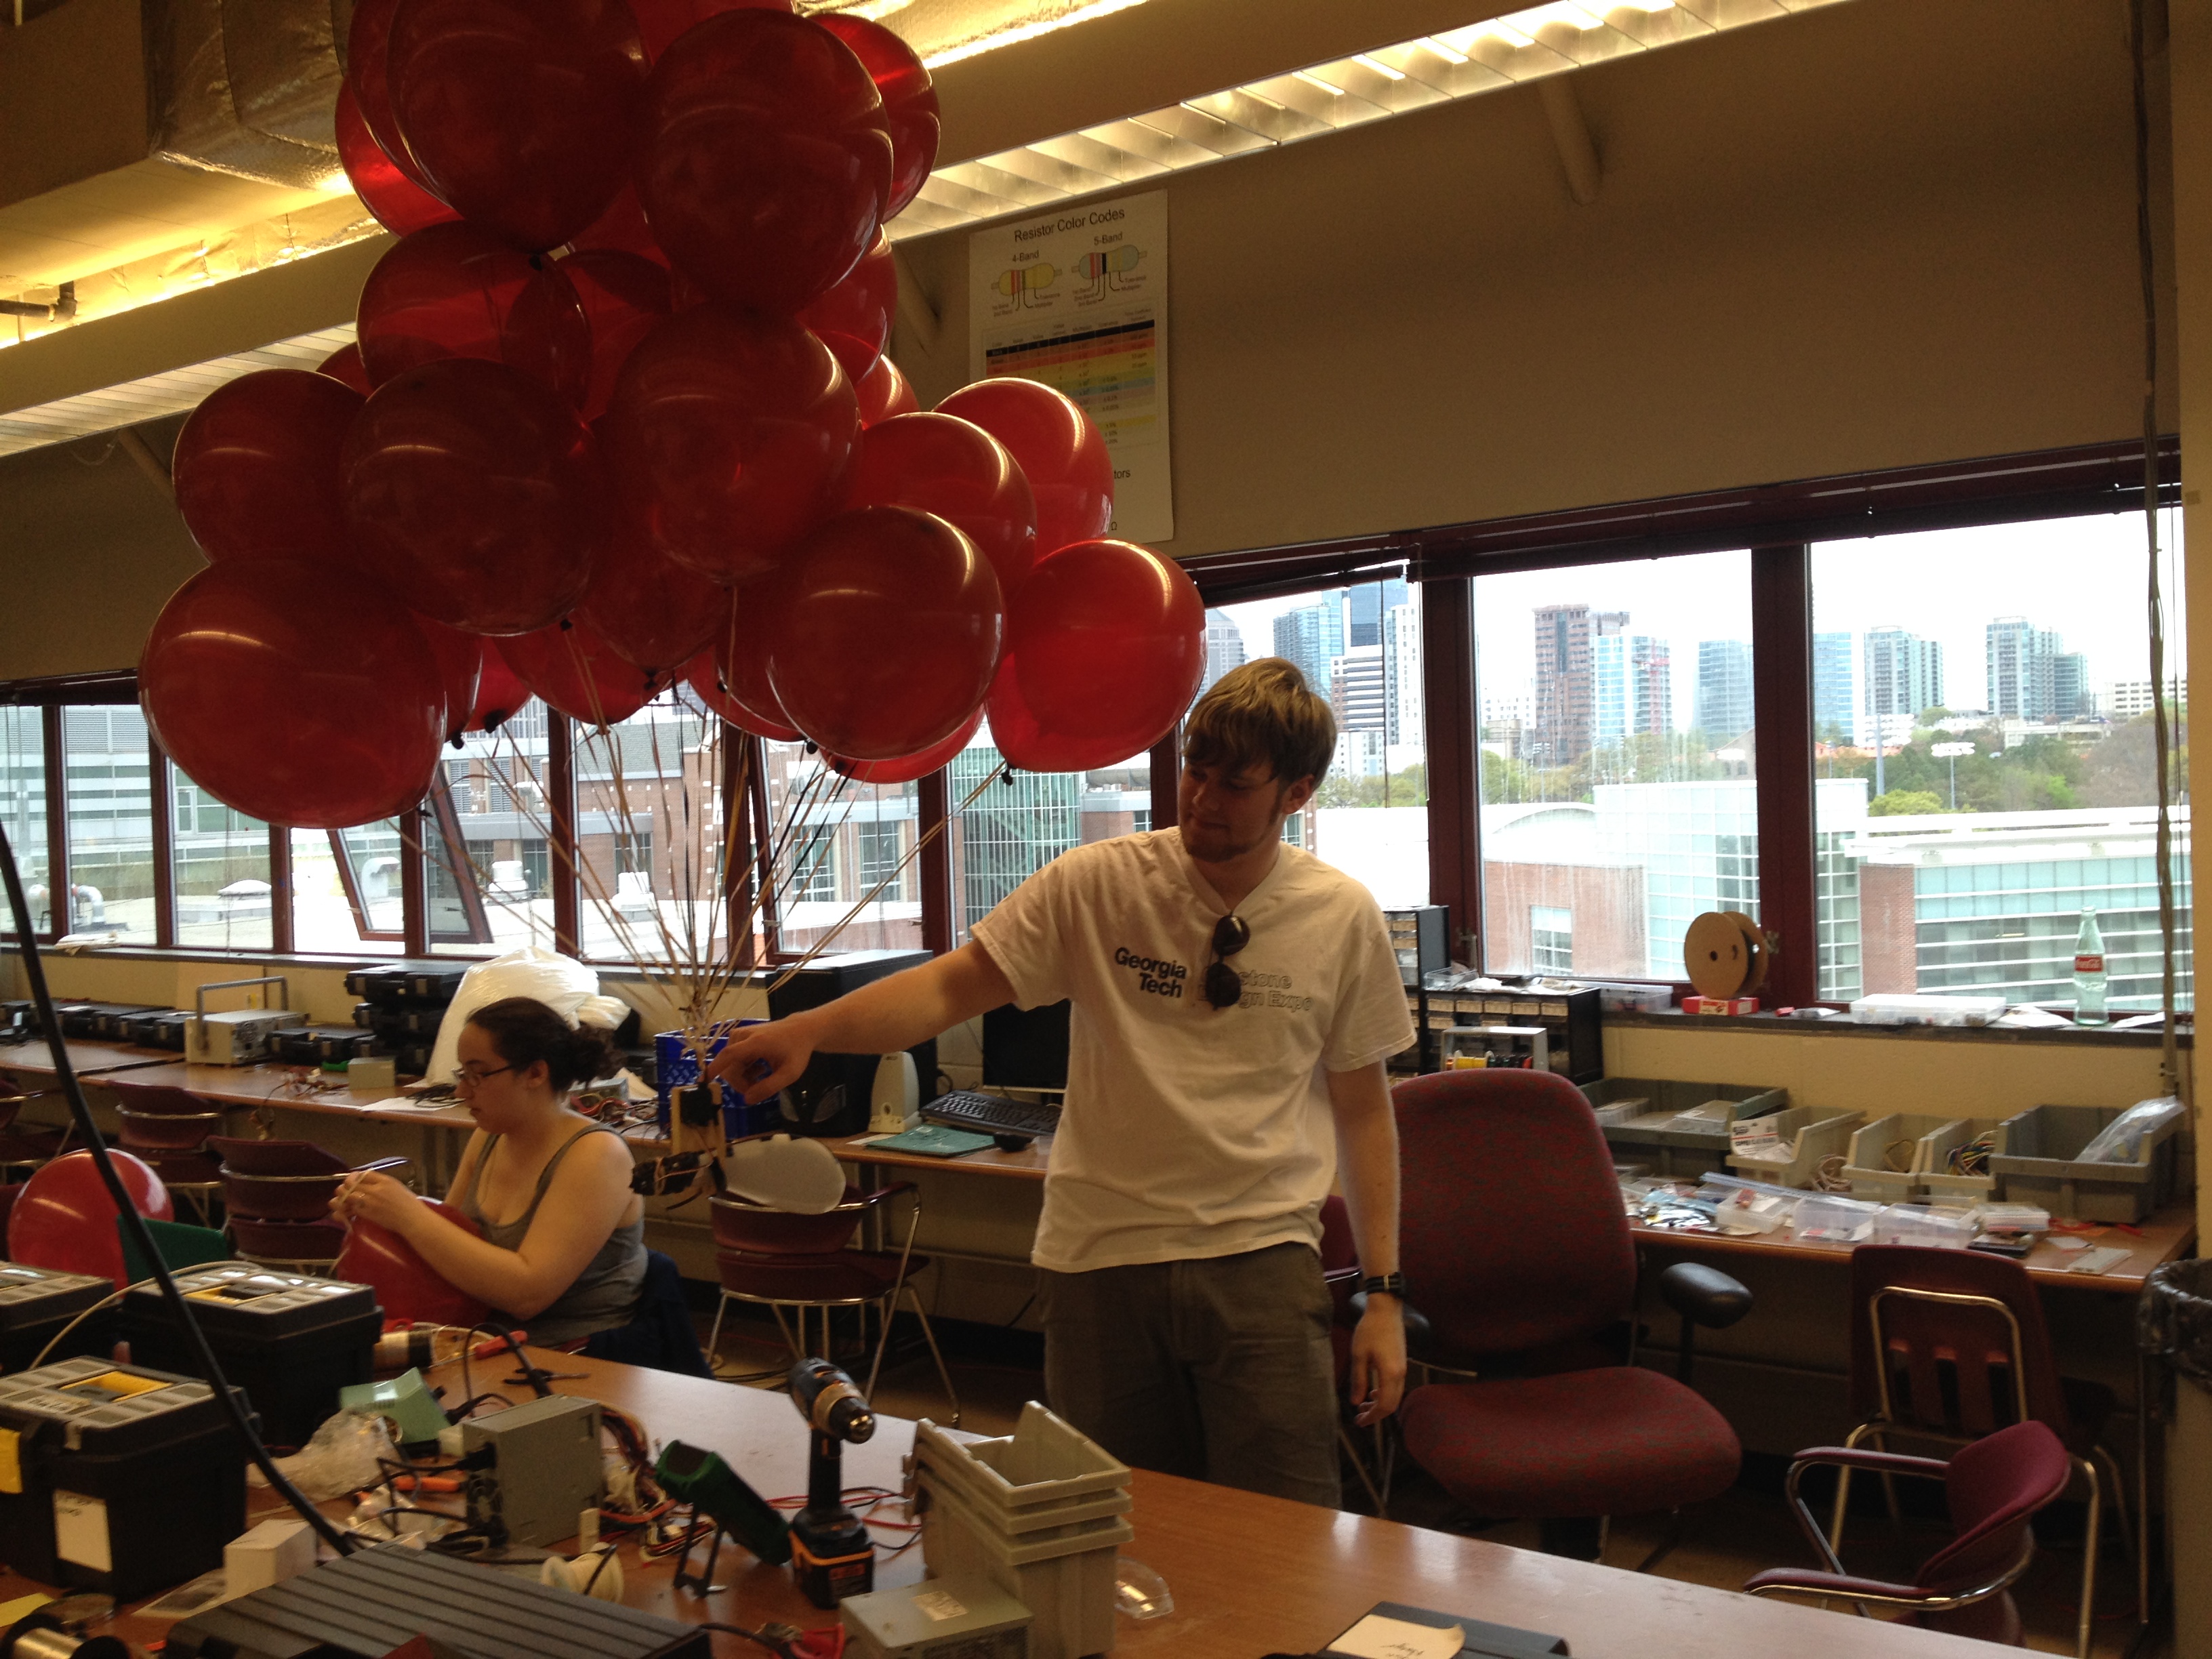
Between us, the best ideas we could muster up were between Harrison’s quadcopter, and a remote control blimp envelope (just the part that holds the Helium) located in the College of Computing’s MAKE Club lab. Unfortunately, the was a lot of gusty wind, too much for the quadcopter to consider navigating, and by the same token the risk of losing the blimp envelope was too high to realistically take it outside.
Solution: party balloons.
Harrison Testing Buoyancy of Drop Rig, Jordan Tying up More Balloons
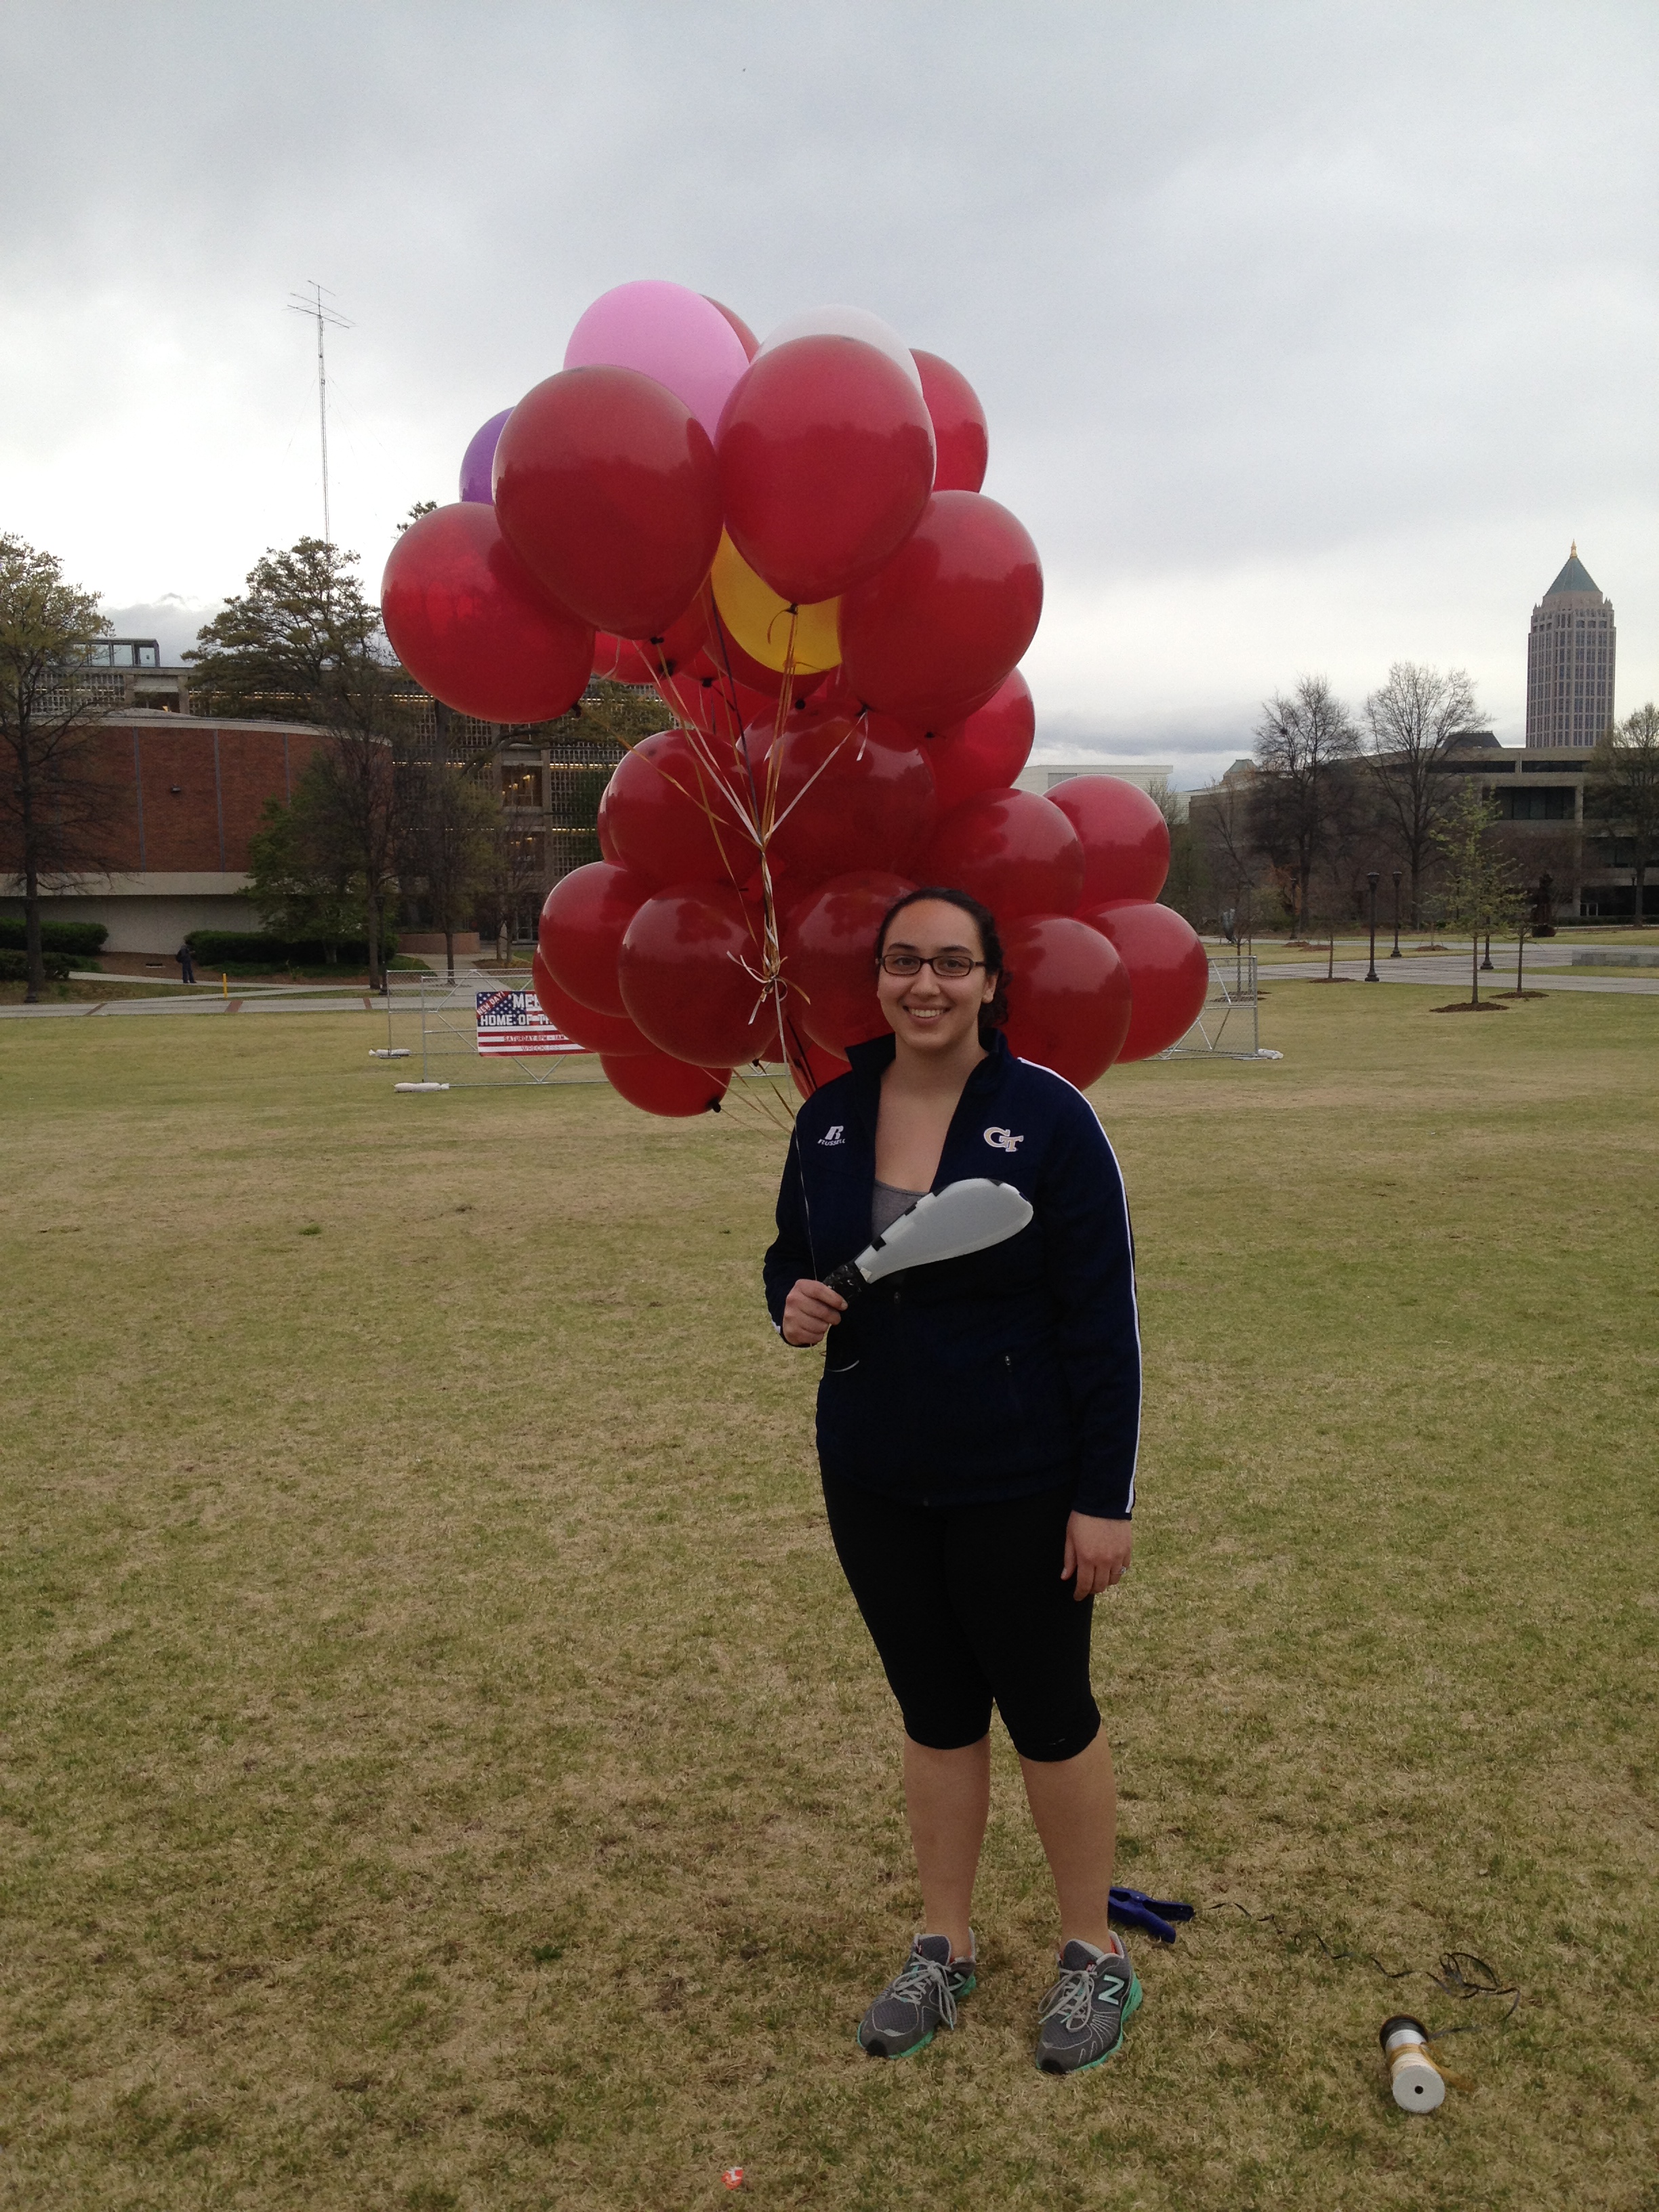
Jordan Showing off Balloons and Test Article
Getting the balloons out to testing location was quite challenging, the wind exerted a surprising amount of force on them, especially between buildings. We dropped the maple seed three times, the second being the most successful.
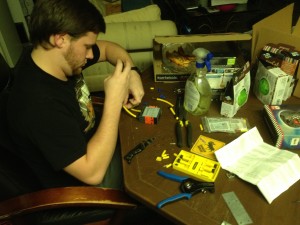
The dropping mechanism was a quick and dirty job, its just an Arduino and a servo that releases after a specified number of seconds. Here is Drop 1 and Drop 3 for reference.
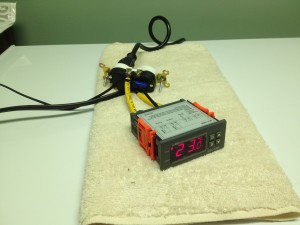
As an update from our previous post, kegerator in a day, we have added a temperature controller to keep the beer from freezing. All we need the temperature controller to do is keep the kegs at a nice, even serving temperature. We want it to be cheap, sense the kegerator’s internal temperature reliably, and switch the power going to the chest freezer.
Another kegerator builder over at onemansbeer made a nifty temperature controller using and STC-1000 aquarium thermostat. The price was good and the thermostat comes with a thermocouple, so with all the hard bits accounted for, we ordered the thermostat.
Taylor, Wiring up the Kegerator Thermostat
The diagram on the side was relatively straight forward, so we jumped in and started putting it together.
Test Rig, Beginning to Cool the Kegerator
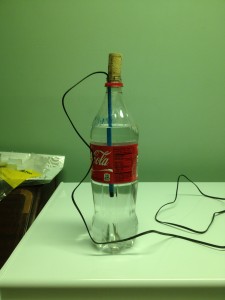
Just tossing the thermocouple into the kegerator seemed like a crude way to measure the temperature, possibly prone to short duty cycles that could damage the chest freezer’s compressor. The STC-1000 is designed for use with an aquatic environment, so we were sure it would be sealed such that dipping it in water would be safe.
Buffering the Thermocouple from the Freezer
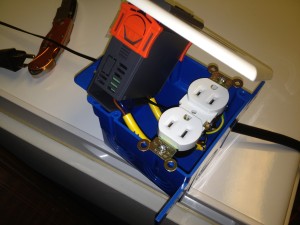
Final Assembly of the Thermostat Into the Electrical Housing
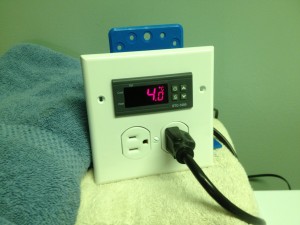
Assembled and Installed Thermostat, Properly Maintaining the Kegs